The Ultimate Decadent Homemade Chocolate Cake Recipe: Your New Go-To Dessert!
Hey there, fellow dessert lover! Have you ever craved that quintessential, rich, and impossibly moist chocolate cake recipe that just melts in your mouth and tastes like pure joy? You know, the kind that transports you back to childhood birthdays or cozy family gatherings? Well, you’re in the right place! Today, I’m sharing my absolute favorite, tried-and-true chocolate cake recipe that consistently delivers on all fronts: flavor, texture, and that undeniable "wow" factor.
We found this resource helpful: Quick And Easy Chocolate Cake: A Delightful Treat For Any Occasion
Forget dry, crumbly cakes or complicated steps. This isn’t just any chocolate cake; it’s the chocolate cake. It’s a recipe I’ve perfected over years, through countless celebrations and "just because" baking sessions. My journey to the perfect chocolate cake started early. Growing up, my grandmother had this magical way with chocolate, and her cakes were legendary. This recipe is my homage to her, with a few modern twists that make it incredibly easy and guarantee a consistently moist, fudgy crumb every single time. It’s a classic, simple chocolate cake that tastes anything but simple – it’s pure decadence in every bite!
So, whether you’re celebrating a special occasion, comforting a friend, or simply treating yourself (you deserve it!), this homemade chocolate cake recipe is about to become your new best friend in the kitchen. Let’s get baking!
Decadent Chocolate Cake Recipe Overview
- Prep Time: 20 minutes
- Cook Time: 30-35 minutes
- Servings: 12 generous slices

Ingredients You’ll Need
This easy chocolate cake recipe uses common pantry staples, so you likely have most of these on hand already!
For the Moist Chocolate Cake:
- 2 cups (250g) All-Purpose Flour
- 2 cups (400g) Granulated Sugar
- ¾ cup (65g) Unsweetened Cocoa Powder (natural, not Dutch-processed, for best results with baking soda)
- 2 teaspoons Baking Soda
- 1 teaspoon Baking Powder
- 1 teaspoon Salt
- 1 cup (240ml) Whole Milk (or buttermilk for extra tanginess)
- ½ cup (120ml) Vegetable Oil (or other neutral oil like canola or sunflower)
- 2 Large Eggs, room temperature
- 1 teaspoon Vanilla Extract
- 1 cup (240ml) Hot Water or Hot Brewed Coffee (this is the secret to extreme moistness and deep flavor!)


For the Silky Chocolate Buttercream Frosting:
- 1 cup (226g) Unsalted Butter, softened to room temperature
- 1 ½ cups (150g) Unsweetened Cocoa Powder
- 6-8 cups (720-960g) Powdered Sugar (Confectioners’ Sugar), sifted
- ¾ cup (180ml) Whole Milk or Heavy Cream, plus more if needed
- 2 teaspoons Vanilla Extract
- Pinch of Salt (to balance the sweetness)
Detailed Step-by-Step Instructions: Your Path to Chocolate Perfection
Follow these steps closely, and you’ll be enjoying the best chocolate cake recipe of your life!
Part 1: Baking the Moist Chocolate Cake Layers
- Preheat and Prep: Preheat your oven to 350°F (175°C). Grease and flour two 9-inch round cake pans. You can also line the bottoms with parchment paper circles for extra insurance against sticking.
- Tip: Don’t skip greasing and flouring (or parchment!). It’s heartbreaking when a beautiful cake sticks to the pan. Make sure your oven is fully preheated before putting the cakes in for even baking.
- Combine Dry Ingredients: In a large mixing bowl, whisk together the flour, granulated sugar, cocoa powder, baking soda, baking powder, and salt. Make sure there are no lumps of cocoa powder.
- Tip: Whisking dry ingredients thoroughly ensures even distribution of leavening agents, which means your cake will rise beautifully and evenly.
- Add Wet Ingredients (Except Hot Liquid): To the dry ingredients, add the milk, vegetable oil, eggs, and vanilla extract. Beat with an electric mixer on medium speed for about 2 minutes, or until just combined and smooth. The batter will be thick.
- Tip: Ensure your eggs and milk are at room temperature. This helps them incorporate better into the batter, leading to a smoother texture and better rise.
- The Hot Liquid Magic: Carefully pour the hot water or hot brewed coffee into the batter. Mix on low speed until just combined. The batter will be very thin – don’t worry, this is exactly what you want!
- Tip: The hot liquid "blooms" the cocoa powder, intensifying its flavor and creating a super moist, tender crumb. Using coffee enhances the chocolate flavor without making the cake taste like coffee. Don’t overmix at this stage; mix until just combined.
- Pour and Bake: Divide the thin batter evenly between your two prepared cake pans. Bake for 30-35 minutes, or until a wooden skewer or toothpick inserted into the center comes out clean or with a few moist crumbs attached.
- Tip: Avoid opening the oven door too frequently, especially in the first 20 minutes, as this can cause the cakes to sink. If one cake seems to be baking faster than the other, you can rotate the pans halfway through baking.
- Cooling Down: Once baked, remove the cakes from the oven and let them cool in their pans on a wire rack for 10-15 minutes. Then, carefully invert them onto the wire rack to cool completely.
- Tip: Cooling completely is crucial! Frosting a warm cake is a recipe for disaster – the frosting will melt and slide right off. Patience is key here.
Part 2: Crafting the Silky Chocolate Buttercream Frosting
- Cream the Butter: In a large mixing bowl, using an electric mixer, beat the softened butter on medium-high speed for 2-3 minutes until it’s light and fluffy.
- Tip: Softened butter (not melted!) is essential for fluffy frosting. It should be pliable but still hold its shape.
- Add Cocoa and Half the Sugar: Add the cocoa powder to the butter and beat until combined. Then, gradually add about half of the sifted powdered sugar, beating on low speed until incorporated, then increase to medium until smooth.
- Tip: Sifting powdered sugar prevents lumps in your frosting, ensuring a super smooth texture. Add it gradually to avoid a "sugar cloud" in your kitchen!
- Alternate Milk and Remaining Sugar: With the mixer on low speed, alternately add the milk (or heavy cream) and the remaining powdered sugar, beginning and ending with powdered sugar. Beat until all ingredients are combined.
- Tip: Add liquid a little at a time. You might not need all of it, or you might need a tiny bit more, depending on your desired consistency.
- Whip to Perfection: Increase the mixer speed to medium-high and beat for another 2-3 minutes until the frosting is light, fluffy, and spreadable. Add vanilla extract and a pinch of salt and beat for another 30 seconds. If the frosting is too thick, add more milk (½ teaspoon at a time). If too thin, add more powdered sugar (1 tablespoon at a time).
- Tip: Don’t underestimate the power of whipping! It incorporates air, making the frosting light and irresistible. The pinch of salt helps cut through the sweetness and enhances the chocolate flavor.
Part 3: Assembling Your Masterpiece
- Level the Cakes (Optional but Recommended): Once the cake layers are completely cool, use a serrated knife or a cake leveler to gently trim the tops of the cakes if they have domed, creating flat surfaces. This makes for a more stable and professional-looking cake.
- Tip: Don’t throw away those cake scraps! They’re perfect for a quick snack, or you can crumble them for cake pops.
- First Layer: Place one cake layer on your serving plate or cake stand. Spread about 1 to 1 ½ cups of chocolate buttercream evenly over the top.
- Second Layer: Carefully place the second cake layer on top of the first.
- Crumb Coat: Apply a thin layer of frosting all over the top and sides of the cake. This is called a "crumb coat" and it traps any loose crumbs, preventing them from getting into your final frosting layer.
- Tip: Don’t worry if it looks messy – it’s just the first coat! Chill the cake in the refrigerator for 15-20 minutes after the crumb coat to set the frosting. This makes applying the final layer much easier.
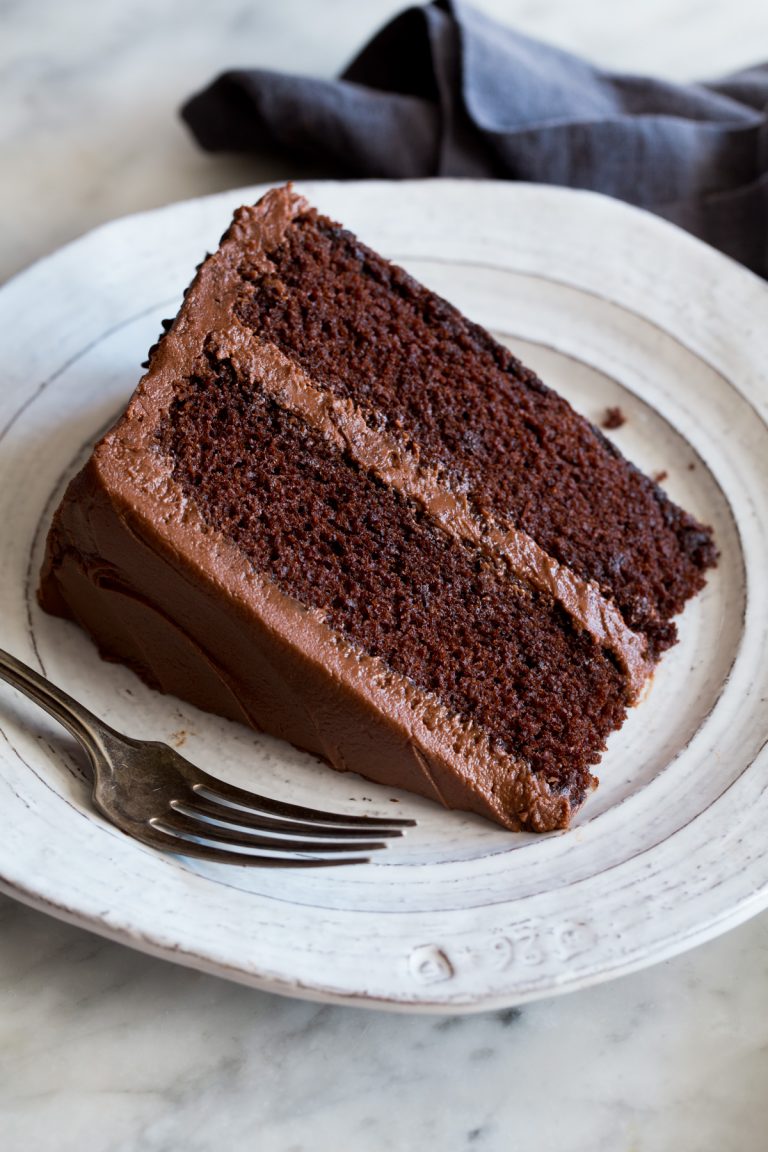
- Final Frosting: Once the crumb coat is set, apply the remaining frosting, smoothing it evenly over the top and sides of the cake. You can use an offset spatula, a bench scraper, or even the back of a spoon to create swirls.
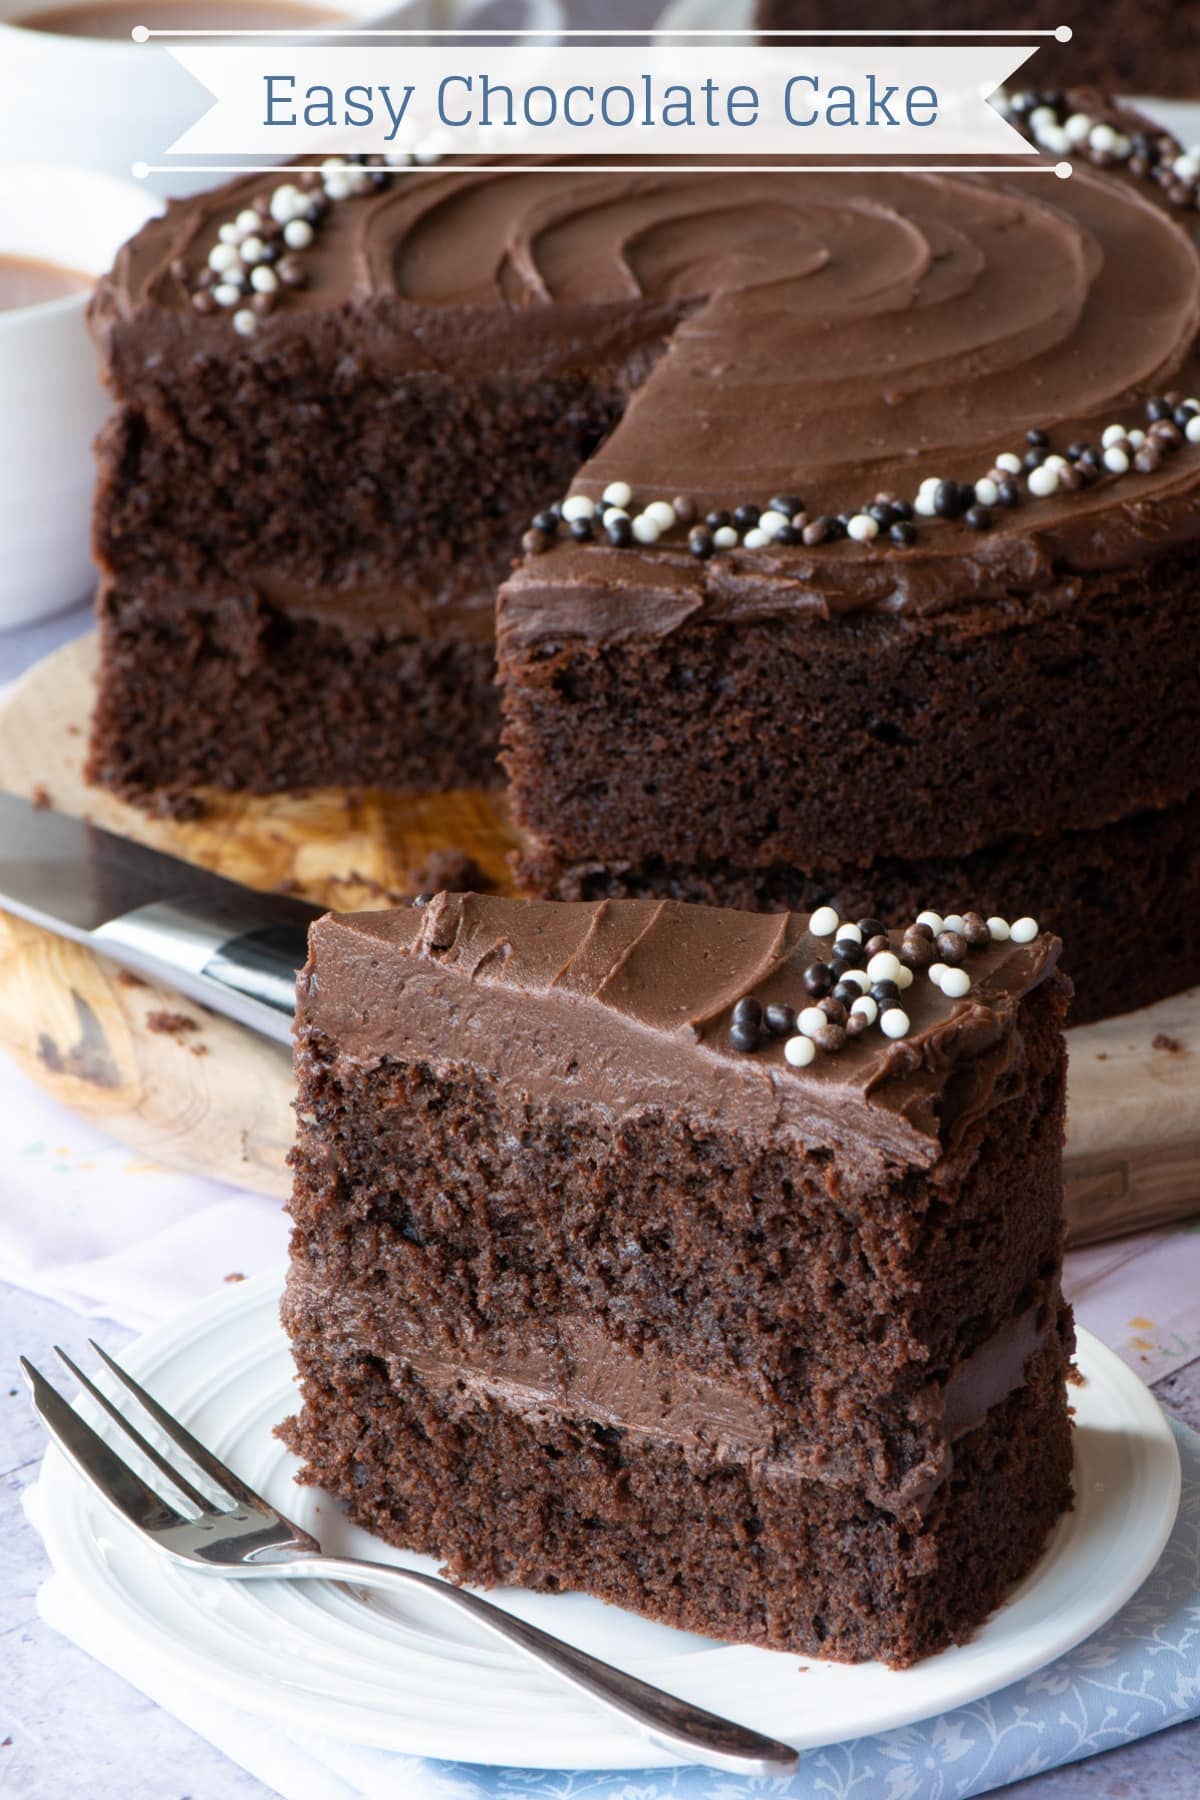
- Decorate and Serve: Decorate as desired! You can sprinkle with chocolate shavings, cocoa powder, or simply leave it as is. Slice and serve your magnificent homemade chocolate cake!
Pro Tips for the Best Chocolate Cake Recipe Ever!
Want to ensure your chocolate cake recipe turns out perfectly every time? Here are some expert tips:
- Room Temperature Ingredients: This is not just a suggestion! Eggs, milk, and butter at room temperature emulsify better, creating a smoother, more uniform batter and a lighter, fluffier cake.
- Don’t Overmix: Once the wet ingredients are added to the dry, mix only until just combined. Overmixing develops gluten, leading to a tough, dry cake.
- Quality Cocoa Powder: The type of cocoa powder matters! For this recipe, which uses baking soda, natural unsweetened cocoa powder is best. It’s more acidic and reacts with the baking soda to help the cake rise. Dutch-processed cocoa is less acidic and might require adjustments to the leavening. A good quality cocoa will also give you a richer chocolate flavor.
- The Power of Hot Coffee: Don’t skip the hot coffee (or hot water). It "blooms" the cocoa, making the chocolate flavor more intense and rich. It also helps create that incredibly moist crumb. No, your cake won’t taste like coffee!
- Cool Completely: Patience is a virtue when baking. Frosting a warm cake will cause the frosting to melt and slide right off. Allow your cake layers to cool completely before frosting.
- Sift Your Powdered Sugar: For the smoothest, most luxurious frosting, sift your powdered sugar. It removes any lumps, ensuring a silky finish.
Variations & Substitutions:
- Bundt Cake: This recipe can easily be baked in a 10-cup Bundt pan. Bake for 50-60 minutes, or until a skewer comes out clean. A chocolate ganache glaze works wonderfully on a Bundt cake.
- Cupcakes: Turn this into 24-30 cupcakes! Bake for 18-22 minutes.
- Different Frostings: Not a fan of buttercream? This cake is also fantastic with a rich chocolate ganache, a tangy cream cheese frosting, or even a simple dusting of powdered sugar.
- Add-Ins: Fold in a cup of chocolate chips (milk, dark, or white) into the batter for extra chocolatey goodness. A teaspoon of espresso powder added to the dry ingredients will further deepen the chocolate flavor.
- Dairy-Free Option: Use plant-based milk (almond, soy, oat), dairy-free butter, and replace eggs with flax eggs (1 tbsp ground flaxseed + 3 tbsp water per egg, let sit 5 mins). Note that texture may vary slightly.
Serving Ideas:
This decadent chocolate cake recipe is a showstopper on its own, but here are some ways to elevate it:
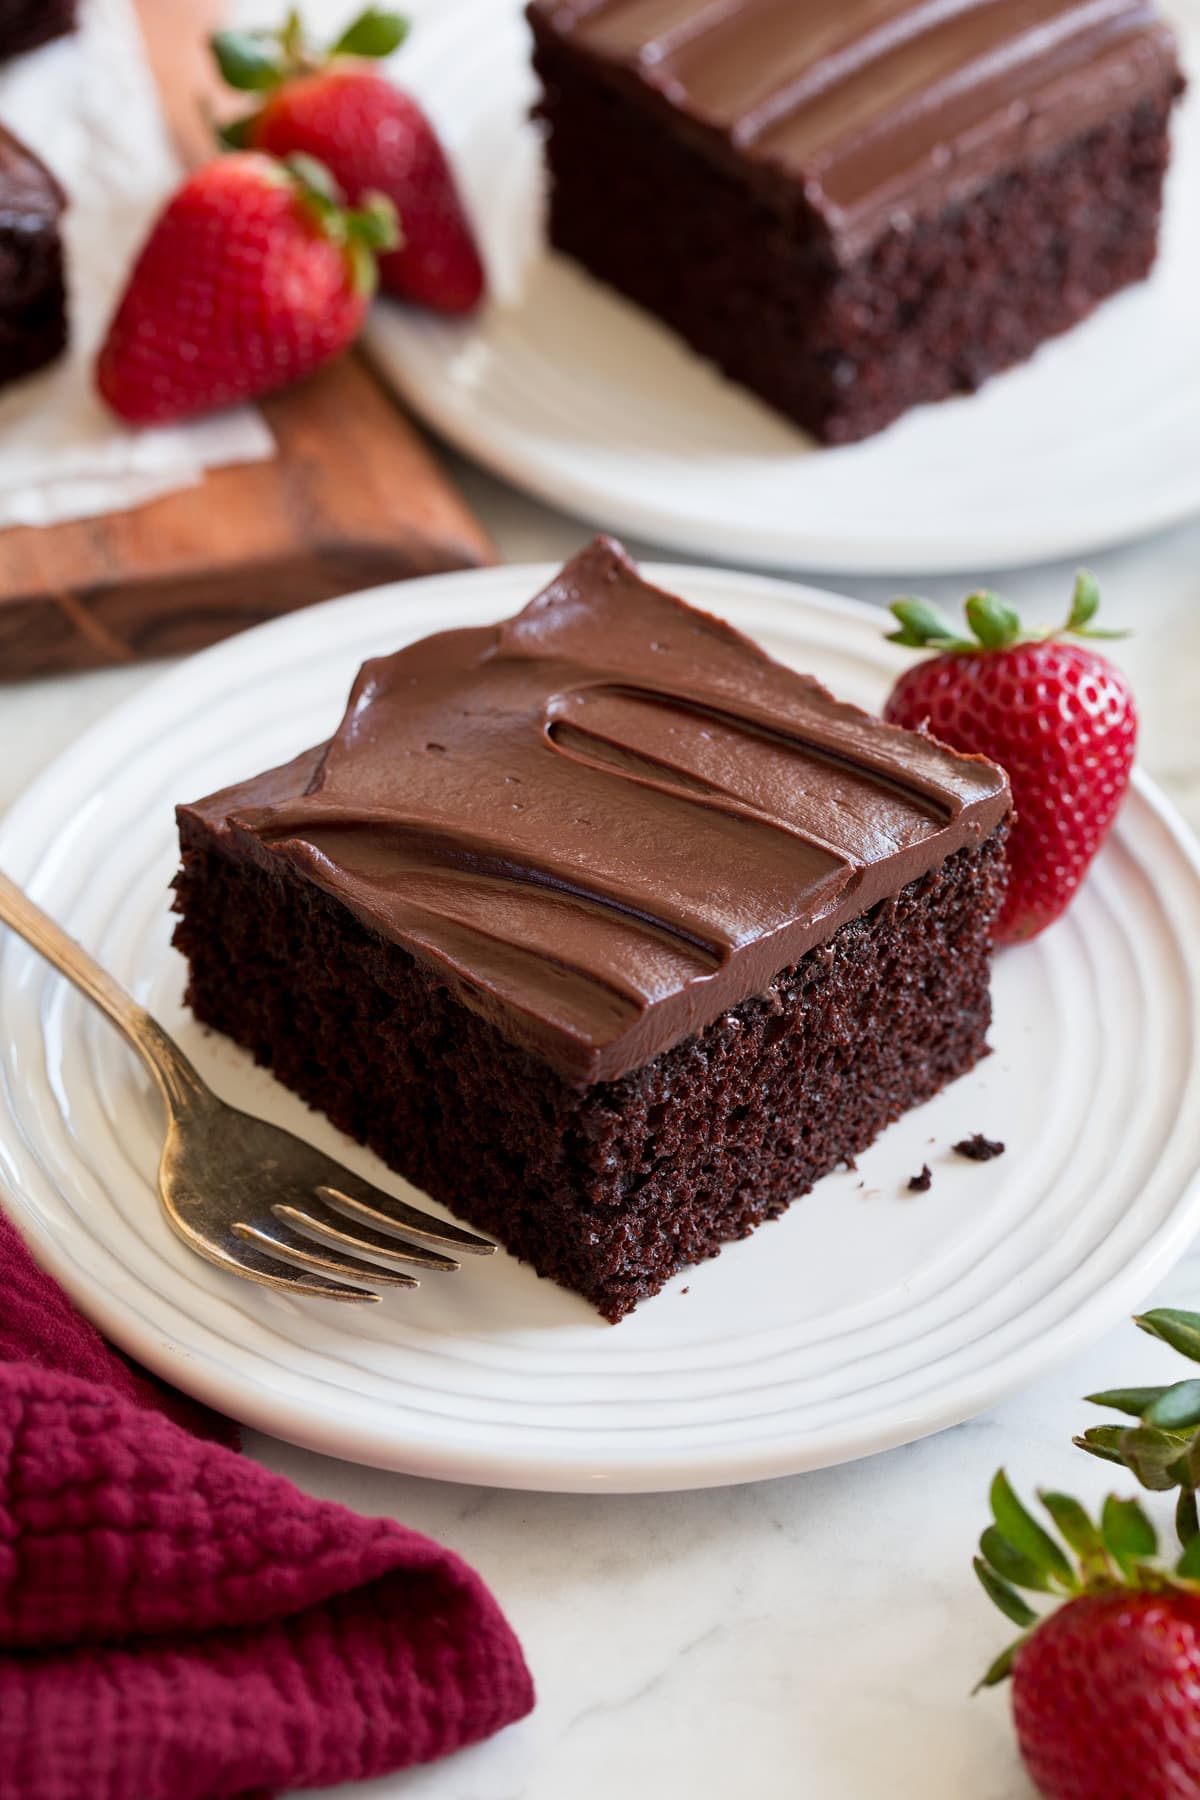
- Fresh Berries: A handful of fresh raspberries or strawberries provides a lovely tart contrast to the rich chocolate.
- Ice Cream: A scoop of vanilla bean ice cream or raspberry sorbet is a classic pairing.
- Whipped Cream: A dollop of freshly whipped cream lightens up the richness.
- Chocolate Shavings/Cocoa Dusting: Simple and elegant, a sprinkle of chocolate shavings or a dusting of cocoa powder makes for a beautiful presentation.
Nutritional Information (Estimated Per Serving)
- Calories: 550-600 kcal
- Total Fat: 30-35g
- Saturated Fat: 15-20g
- Cholesterol: 70-80mg
- Sodium: 400-450mg
- Total Carbohydrates: 70-80g
- Dietary Fiber: 3-4g
- Total Sugars: 50-60g
- Protein: 5-7g
Note: Nutritional information is an estimate based on standard ingredients and calculations. Actual values may vary depending on specific brands and exact measurements.
Chocolate Cake Recipe FAQs
Q: Why is my chocolate cake dry?
A: A dry cake is usually a sign of overbaking. Ovens can vary, so always start checking for doneness at the lower end of the suggested baking time. Also, ensure you’re using accurate measurements, especially for flour, which can easily be over-measured if scooped directly from the bag. Use the spoon and level method!
Q: Can I make this chocolate cake recipe ahead of time?
A: Absolutely! The cake layers can be baked up to 2 days in advance. Once completely cool, wrap them tightly in plastic wrap and store at room temperature. The frosting can also be made 2-3 days ahead and stored in an airtight container in the refrigerator. Before frosting, let the frosting come to room temperature and re-whip it for a few minutes to regain its fluffy texture.
Q: Can I freeze this cake?
A: Yes! You can freeze the unfrosted cake layers (wrapped tightly in plastic wrap and then foil) for up to 2 months. Thaw them at room temperature before frosting. You can also freeze a fully frosted cake; just place it in the freezer uncovered until the frosting is firm, then wrap it tightly in plastic wrap and foil. Thaw in the refrigerator overnight.
Q: What kind of cocoa powder should I use for this chocolate cake recipe?
A: This recipe calls for natural unsweetened cocoa powder (like Hershey’s or Ghirardelli). It’s acidic and reacts with the baking soda to help the cake rise. Dutch-processed cocoa powder has been treated to reduce its acidity and would require an adjustment to the leavening agents (usually more baking powder instead of soda) for optimal results.
Q: Why use coffee in a chocolate cake? Does it make it taste like coffee?
A: Great question! The hot coffee doesn’t make the cake taste like coffee at all. Instead, it incredibly enhances and deepens the chocolate flavor, making it richer and more profound. It also contributes significantly to the cake’s moistness and tender crumb. If you absolutely don’t want to use coffee, hot water works too, but you’ll miss out on that extra chocolate boost!
Ready to Bake the Best Chocolate Cake Recipe?
There you have it, friends! This chocolate cake recipe is truly a game-changer. It’s rich, it’s moist, it’s decadent, and it’s surprisingly easy to make. The joy of baking something so delicious from scratch is unparalleled, and I promise you, the smiles you’ll get from sharing this cake will be worth every moment.
So, gather your ingredients, put on your favorite apron, and get ready to create some magic in your kitchen. I can’t wait for you to try this ultimate homemade chocolate cake recipe.
If you bake this cake, please come back and tell me all about it in the comments below! What was your favorite part? Did you add any fun variations? I love hearing about your kitchen adventures! And don’t forget to share your photos on social media – tag me so I can see your beautiful creations! Happy baking!
